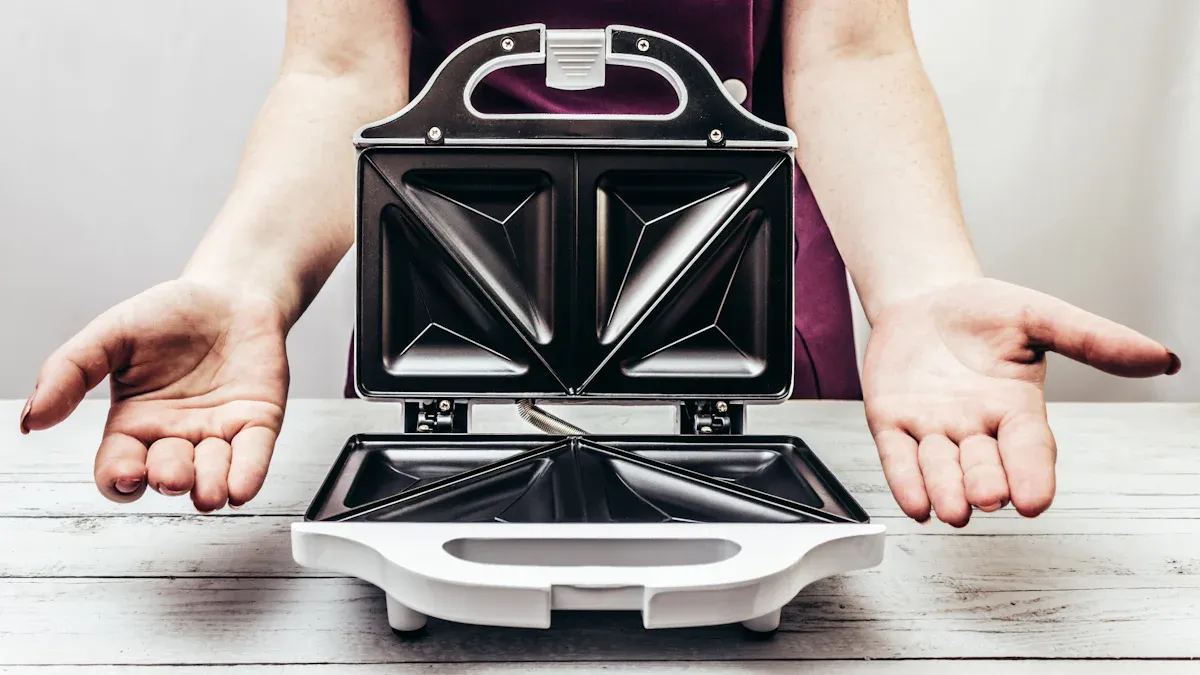
A sandwich maker is more than a kitchen gadget; it’s a versatile tool for crafting meals in minutes. Its popularity continues to rise:
- The global sandwich maker market reached USD 3.3 billion in 2023, with residential use accounting for 71.6%.
- North America alone held a 28.4% market share.
Beyond sandwiches, it toasts bagels, makes paninis, and even cooks tortillas, proving its adaptability for any mealtime.
Key Takeaways
- Pick fresh and good-quality ingredients for tastier, healthier sandwiches. Fresh veggies and properly kept cheese improve the taste a lot.
- Heat your sandwich maker for 3-5 minutes before using it. This helps cook evenly, makes the crust crispy, and stops sticking.
- Try using different breads and fillings to make new flavors. Mix textures and tastes to get the best sandwich.
Preparation Tips for Your Sandwich Maker
Choosing Fresh Ingredients
The foundation of any great sandwich begins with fresh, high-quality ingredients. Fresh vegetables, such as crisp lettuce, ripe tomatoes, and crunchy cucumbers, elevate both the flavor and texture of your meal. For proteins, opt for freshly sliced deli meats or grilled chicken to ensure optimal taste. Cheeses should be well-stored and free from dryness to achieve a creamy melt. Using fresh bread enhances the overall experience, as stale bread can compromise both texture and flavor. Prioritizing freshness not only improves taste but also ensures a healthier meal.
Preheating for Optimal Results
Preheating your sandwich maker is a crucial step that many overlook. A properly preheated appliance ensures even cooking and prevents sandwiches from sticking to the plates. Additionally, it helps achieve a golden, crispy crust that enhances both texture and appearance.
Tip: Allow your sandwich maker to heat for 3-5 minutes before placing your sandwich inside. Most models include an indicator light to signal when the device is ready.
Benefits of preheating include:
- Even cooking throughout the sandwich.
- Prevention of sticking to the cooking surface.
- A perfectly golden, crispy crust.
Skipping this step can lead to unevenly cooked sandwiches and unnecessary frustration.
Selecting the Right Bread and Fillings
The choice of bread and fillings plays a significant role in the success of your sandwich. Different bread types, such as sourdough, whole grain, or ciabatta, offer unique textures and flavors. Select bread that complements your chosen fillings while maintaining structural integrity during cooking.
When choosing fillings, consider combinations that balance flavor and texture:
- Salty + Sweet: Deli meats paired with a sweet relish.
- Umami + Bitter: Vegemite or Marmite with alfalfa sprouts.
- Savory + Spicy: A burger patty combined with kimchi.
- Fat + Acid: Meat paired with pickles.
- Crispy + Soft: Lettuce inside a soft bun.
Avoid overloading your sandwich with too many fillings, as this can make it difficult to cook evenly. Keep fillings neatly contained between the bread to ensure easy handling and biting.
Using Butter or Cooking Spray for Non-Stick Cooking
To prevent sticking and ensure easy cleanup, apply a thin layer of butter or cooking spray to the plates of your sandwich maker. This step is especially important if the non-stick coating on your appliance has started to wear down. Butter adds a rich flavor to the bread, while cooking spray offers a lighter alternative.
Note: Sticking can occur due to factors such as the type of bread used or the condition of the sandwich maker’s plates. A small amount of butter or spray can make a significant difference in preventing this issue.
By taking this precaution, you can enjoy perfectly cooked sandwiches without the hassle of scraping stuck-on bread from the plates.
Creative Ways to Use Your Sandwich Maker
Breakfast Creations
A sandwich maker can transform breakfast into a quick and satisfying meal. Breakfast sandwiches, known for their convenience and filling nature, are a popular choice. Common ingredients include eggs, sausage or bacon, and cheese, served on bread like bagels or English muffins. These sandwiches provide a high-protein start to the day, keeping individuals full for longer. However, traditional versions often contain high calories and saturated fat. Healthier alternatives can be achieved by using whole-grain bread, lean proteins, and low-fat cheese.
Beyond sandwiches, the appliance can prepare other breakfast items:
- Cooking cheese latkes for a crispy, golden finish.
- Toasting cream cheese and strawberry jelly on bread for a sweet morning treat.
- Melting cheese on pre-cooked scrambled eggs for a quick protein boost.
Tip: Experiment with different bread types, such as sourdough or whole wheat, to add variety to your breakfast creations.
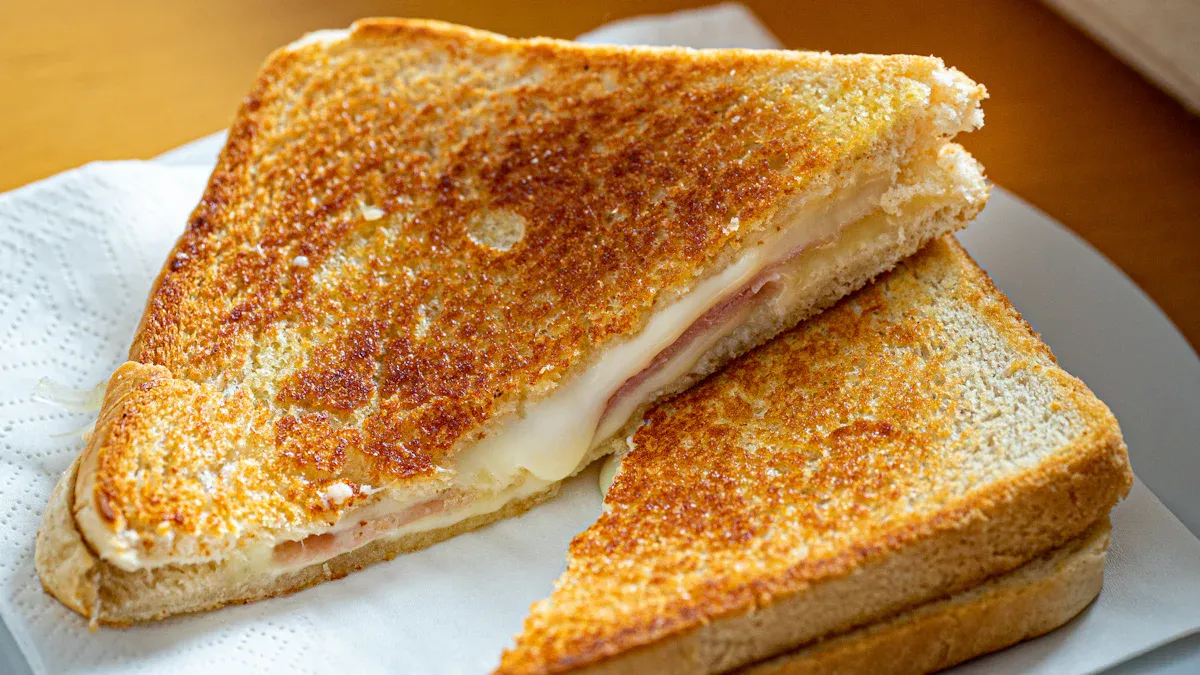
Lunch and Dinner Ideas
Sandwich makers excel at producing satisfying lunch and dinner options. They allow for customization based on individual tastes, ensuring meals are both quick and flavorful. Popular choices include paninis, quesadillas, and grilled wraps. For a balanced meal, pair proteins like grilled chicken or turkey with vegetables and a light sauce.
The appliance also accommodates non-traditional uses:
- Rewarming frozen pizza bagels for a crispy crust.
- Heating premade noodles with shredded cheese to create a crunchy, cheesy dish.
Consumers increasingly prefer convenient meal solutions that adhere to nutritional guidelines. This trend highlights the effectiveness of sandwich makers in meeting diverse dietary needs.
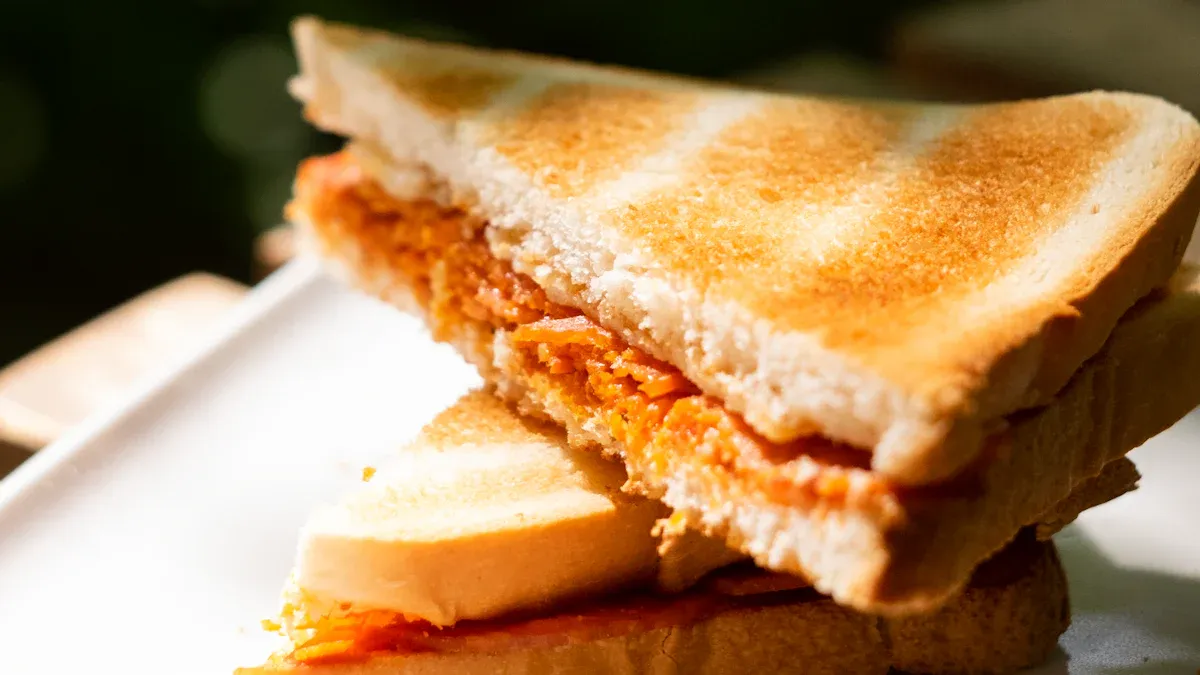
Snacks and Appetizers
Sandwich makers are ideal for creating quick and tasty snacks or appetizers. The growing trend of home cooking has increased their popularity, with 70% of respondents reporting they cook at home more often than before the pandemic. Families also seek healthier snack options to combat unhealthy eating habits.
Here are some creative snack ideas:
- Mini quesadillas with cheese and salsa.
- Grilled pita bread with hummus.
- Bite-sized stuffed sandwiches with spinach and feta.
| Factor | Evidence |
|---|---|
| Home Cooking Trend | 70% of respondents indicated they were cooking at home more often than before the pandemic. |
| Health Consciousness | Unhealthy eating habits contribute to health issues, prompting families to seek healthier options. |
| Regional Preferences | Asian markets have seen growth due to diverse culinary traditions and adaptability of products. |
| Affordability | 55% of consumers prioritize cost-effective solutions without compromising utility. |
| Technological Advancements | European brands are incorporating smart technology into kitchen appliances, appealing to tech-savvy buyers. |
| Social Media Influence | Food enthusiasts share recipes on platforms like Instagram and TikTok, driving visibility. |
Note: Use your sandwich maker to prepare appetizers for gatherings. It saves time and ensures consistent results.
Desserts and Sweet Treats
Desserts prepared in a sandwich maker offer a delightful way to end a meal. The appliance can create sweet treats with minimal effort. Popular options include:
- Toasted Nutella and banana sandwiches.
- Warm apple pie pockets using pre-made pastry dough.
- Chocolate-stuffed croissants for a rich, indulgent dessert.
These desserts are perfect for satisfying a sweet tooth without requiring extensive preparation. The compact size of the sandwich maker ensures even cooking and easy cleanup.
Tip: Sprinkle powdered sugar or drizzle chocolate syrup over desserts for an elegant presentation.
Maintenance and Cleaning for Your Sandwich Maker
Proper Cooling Before Cleaning
Allowing the sandwich maker to cool completely before cleaning is essential for safety and efficiency. Cleaning a hot appliance can lead to burns or damage to its non-stick surface. Once the device has cooled, unplug it to ensure no electrical hazards remain. This step also prevents the cleaning process from warping the plates due to sudden temperature changes.
Tip: Wait at least 15-20 minutes after use to ensure the appliance is safe to handle.
Gentle Cleaning Techniques
Using gentle cleaning methods preserves the longevity of your sandwich maker. A soft, damp cloth effectively removes crumbs and grease from the plates. For stubborn residue, a mixture of warm water and mild dish soap works well. Avoid submerging the appliance in water, as this can damage its electrical components.
Note: Wipe the exterior with a dry cloth to maintain its appearance and prevent moisture buildup.
Avoiding Abrasive Tools
Abrasive tools, such as steel wool or harsh scrubbers, can scratch the non-stick coating of the sandwich maker. Instead, use non-abrasive sponges or silicone scrapers to remove stuck-on food. This approach ensures the cooking surface remains smooth and functional.
Safe Storage Practices
Proper storage protects the sandwich maker from damage and extends its lifespan. Store the appliance in a cool, dry place to prevent moisture-related issues. Wrapping the cord neatly reduces the risk of tangling or fraying. If possible, store the device upright to save space and avoid unnecessary pressure on its plates.
Tip: Use the original packaging or a protective cover to shield the appliance from dust and scratches.
A sandwich maker offers unmatched versatility, making it an essential tool for quick and delicious meals. Proper preparation, creative usage, and regular maintenance ensure optimal performance and longevity. By experimenting with new recipes, users can unlock the full potential of this appliance and elevate their culinary experience.
Tip: Start with simple recipes and gradually explore more complex combinations to discover your favorite creations.
FAQ
How do I prevent my sandwich from becoming soggy?
Use dry fillings and avoid watery ingredients like tomatoes. Toast the bread lightly before assembling the sandwich for better texture.
Can I use frozen bread in a sandwich maker?
Frozen bread works, but thawing it slightly improves results. Preheat the sandwich maker to ensure even cooking and a crispy crust.
What’s the best way to store my sandwich maker?
Store the appliance upright in a cool, dry place. Wrap the cord neatly to prevent damage and use a protective cover to avoid dust accumulation.